
A cleaner finishstarts at the joints.
Old, mouldy or peeling silicone seals removed and replaced with a clean, properly finished bead.
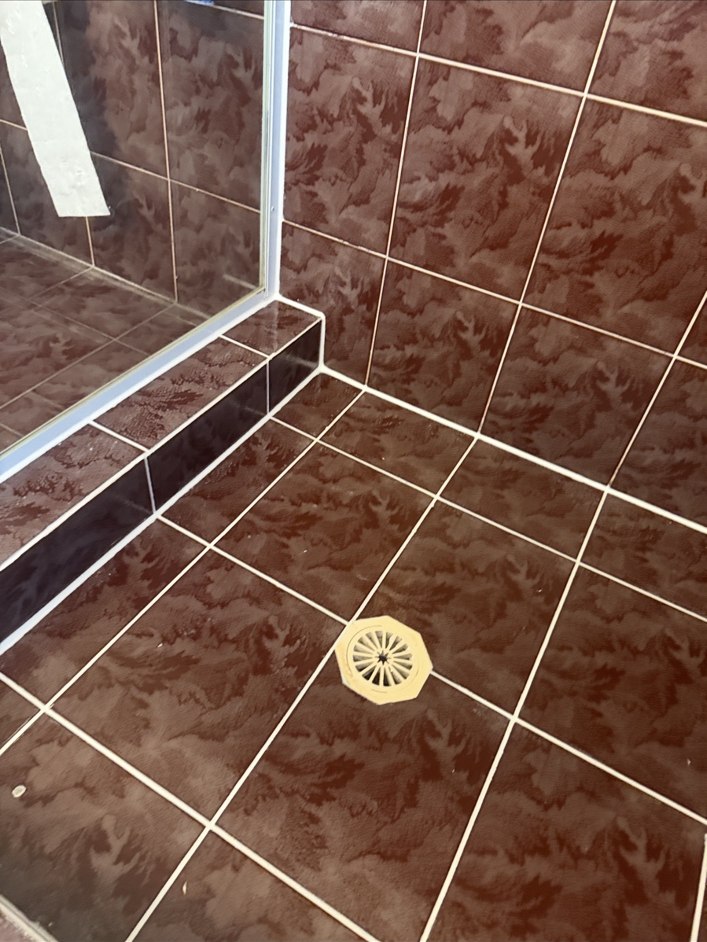
The problem
Silicone seals around showers, baths and benchtops are a common early sign of a tired bathroom. They discolour, peel or grow mould well before the tiles or fixtures actually need attention — often making a bathroom look far more worn than it actually is.
- 01Mould-affected silicone along joints
- 02Silicone lifting or peeling from the surface
- 03A yellowed or dull-looking seal
- 04Gaps where water can track behind the seal
How we solve it
Old silicone is fully removed and the joint is properly cleaned and prepared before a fresh bead is applied — using a wet-area suitable silicone, matched to your existing colour where applicable, and finished with clean tooling for a neat, even line. This removes deteriorated and mould-affected material as part of the restoration and leaves a clean professional seal, rather than masking the problem over the top.
- An immediate, visible lift to the bathroom's appearance
- Deteriorated and mould-affected silicone removed, not just cleaned
- A neater, more consistent seal line
- A quick way to address one of the most obvious signs of wear
How the job runs
The exact scope of work is confirmed in your quote — not every job needs every step.
01 / Assess
We check the extent of the existing seal and surrounding surfaces.
02 / Prepare
Old silicone is fully removed and the joint is cleaned and, where needed, dried before resealing.
03 / Restore
A fresh bead is applied using wet-area suitable silicone, matched to your existing colour where applicable.
04 / Finish
The line is finished with clean tooling and the area is inspected for a neat result.
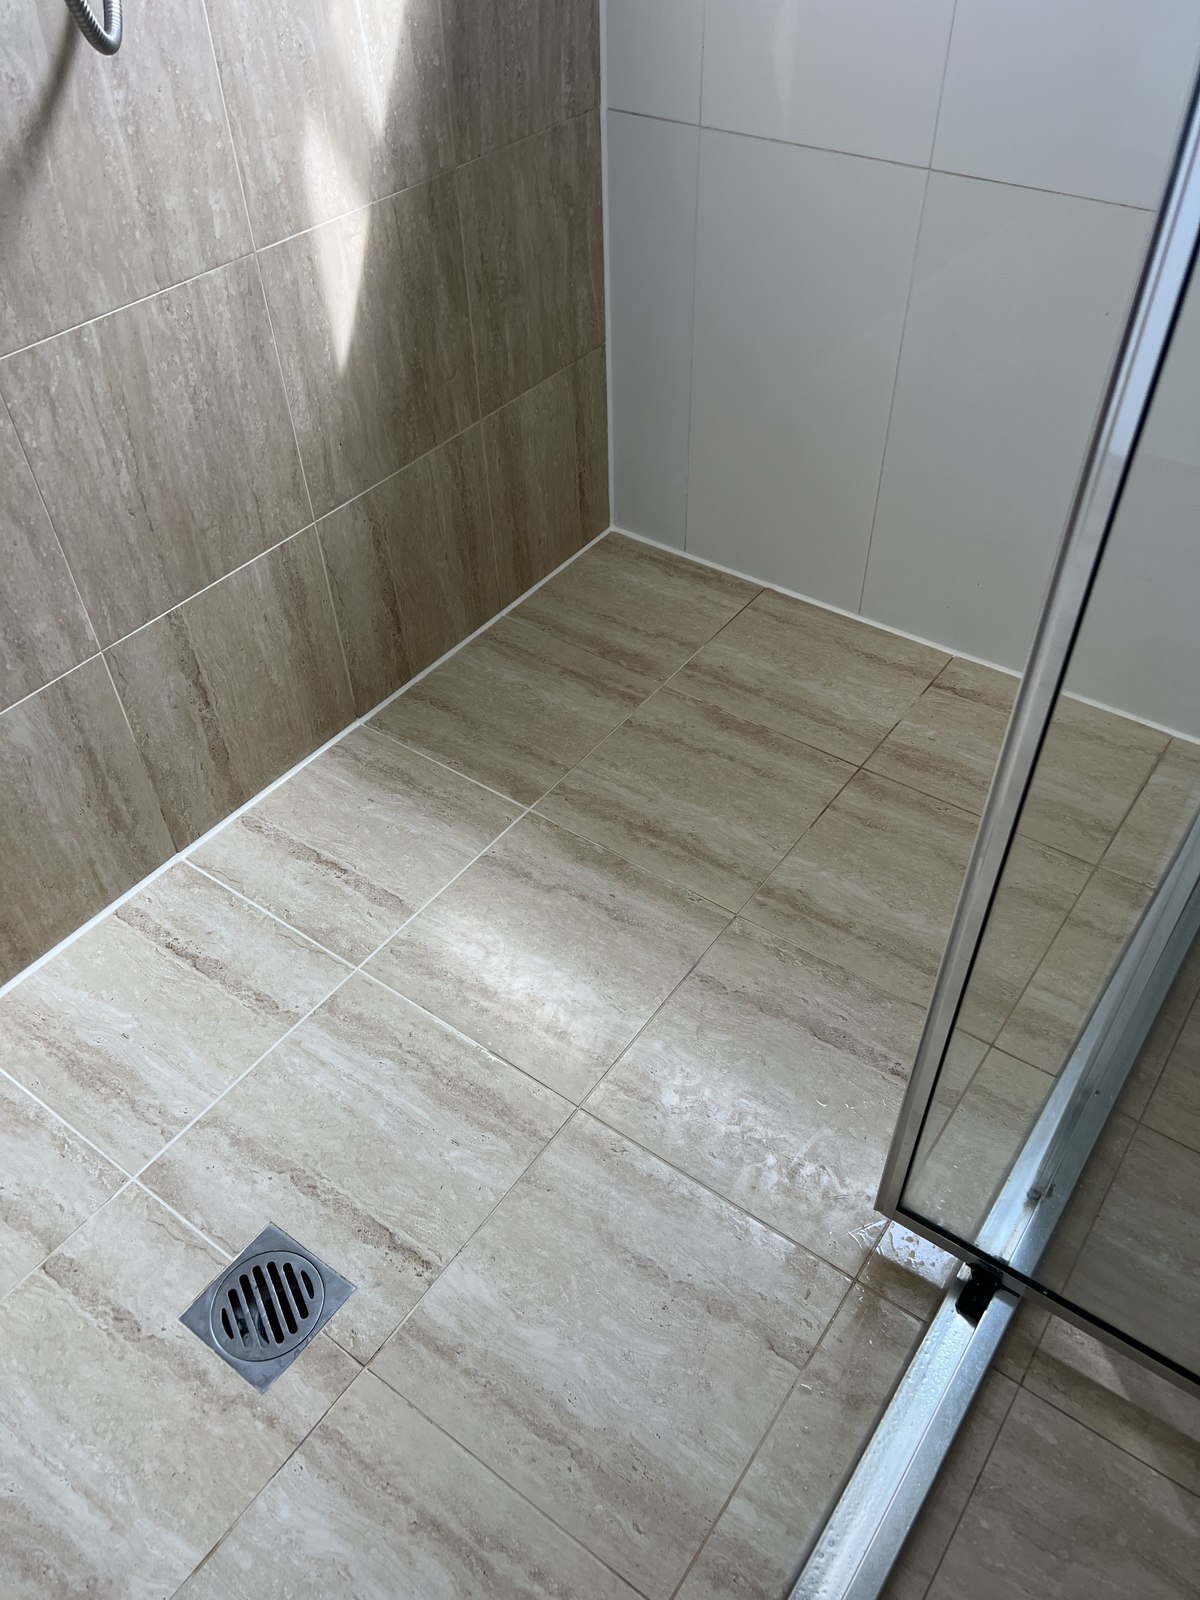
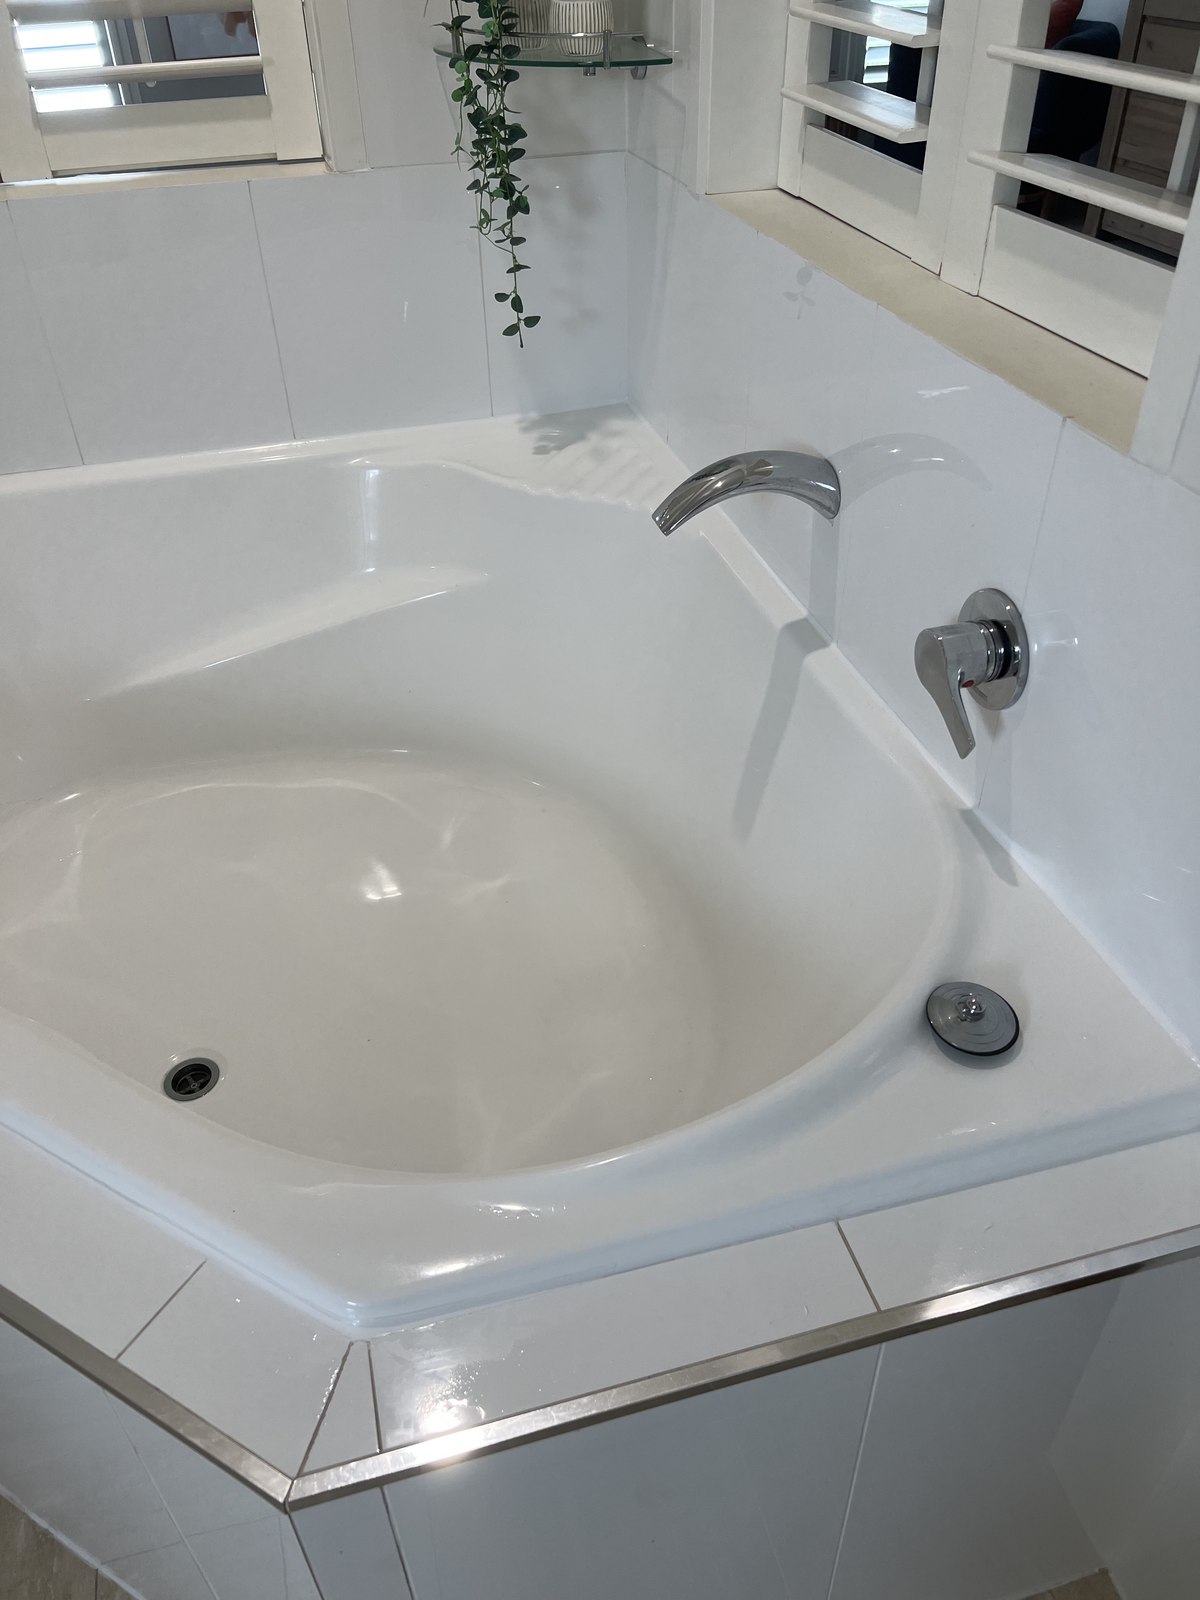
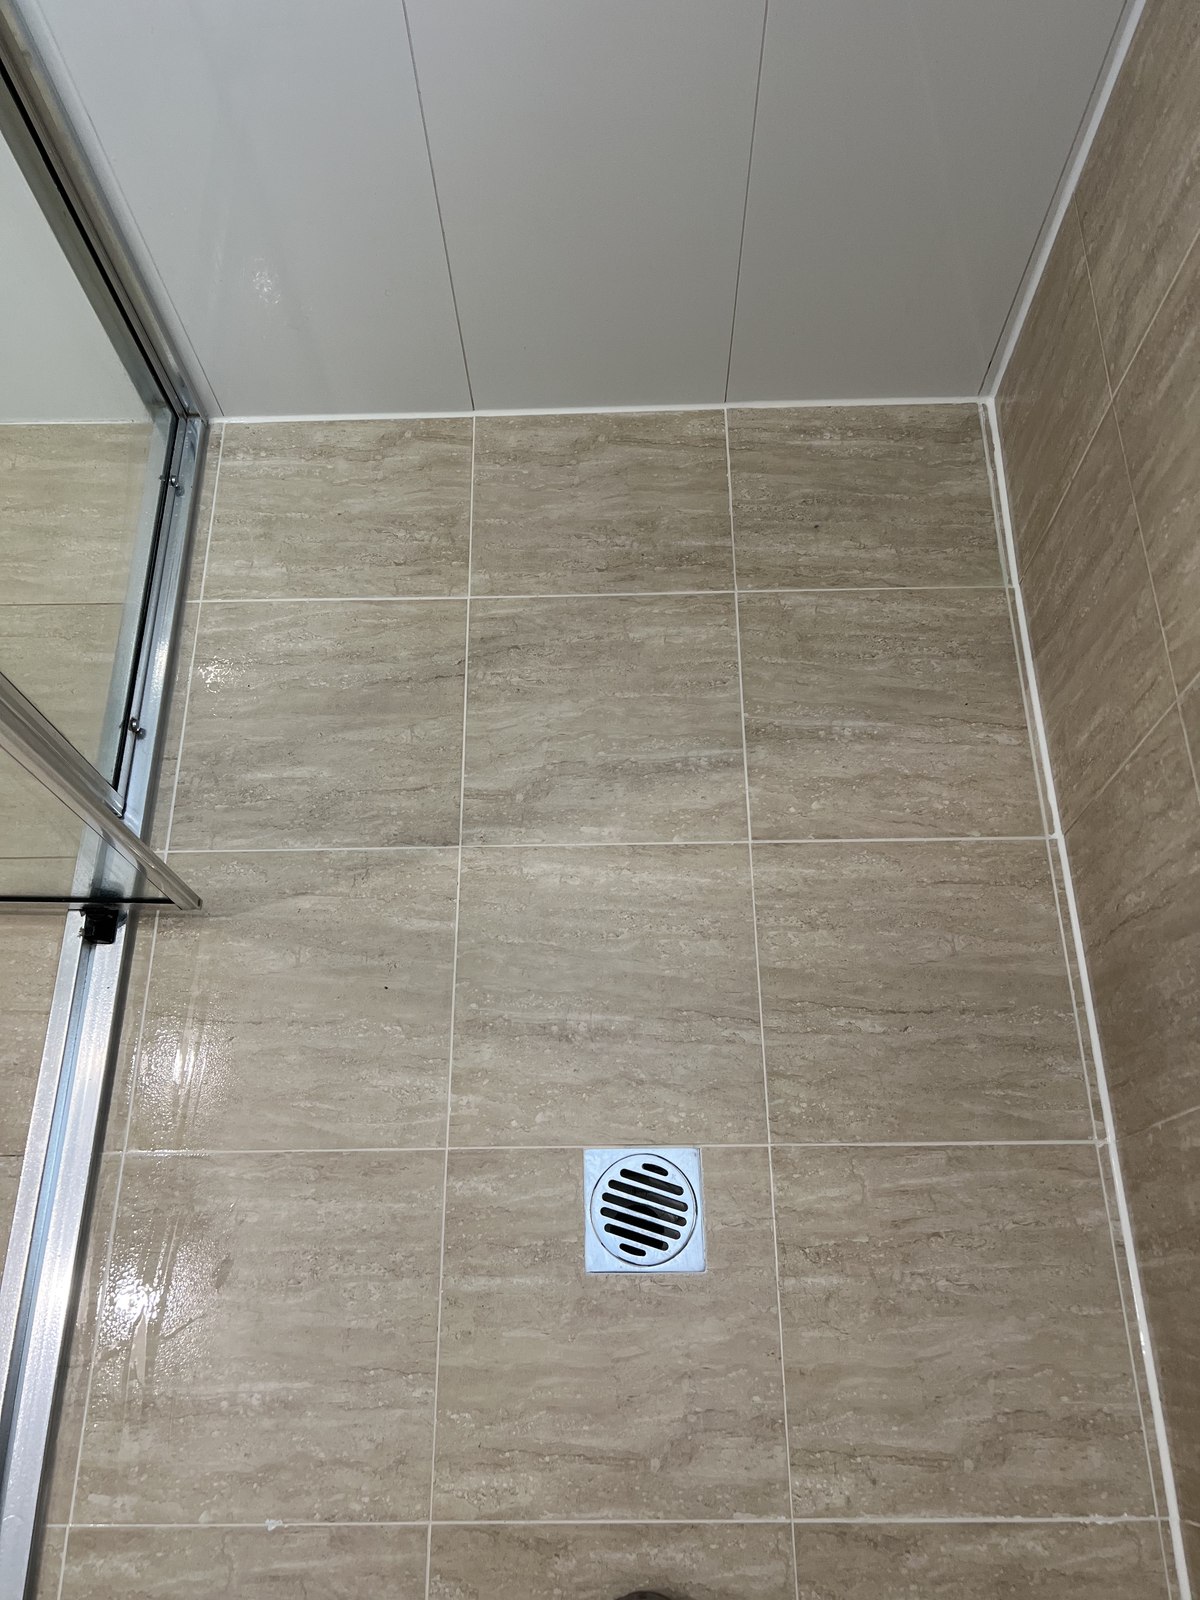
Silicone Replacement in practice
What's behind the finish
Every silicone job is scoped clearly before we start, carried out with materials suited to wet-area conditions, and finished with a clean, professional standard we're happy to stand behind.
Our workmanship is covered by a 5-year warranty. This covers the standard of our workmanship — it isn't a waterproofing warranty, and doesn't cover plumbing faults, structural movement, or damage caused by third-party work or lack of ordinary maintenance after completion.
See our Warranty & Aftercare page for full coverage, exclusions and aftercare information.
Where possible, avoid using the affected area for approximately 12 hours before scheduled work, so the joint is dry and ready.
Allow approximately 24 hours after completion before exposing the new silicone to water, unless we've advised otherwise for the specific product used on your job.
Silicone questions
Generally once it's showing mould that won't clean off, has started peeling or lifting, or looks discoloured despite regular cleaning. Silicone is often the first thing in a bathroom to show its age.
Surface mould can sometimes be cleaned, but once mould has worked into the silicone itself, cleaning only addresses the surface. Replacing it removes the affected material properly rather than masking it.
As a general guide, allow around 24 hours before exposing new silicone to water — we'll confirm exact timing for the specific product used.
In most cases, yes. We'll talk through colour options during your quote so the finished seal sits naturally against your tiles and fixtures.
No. Silicone replacement addresses the visible joint and seal. It isn't a repair for failed waterproofing or plumbing issues — if we suspect a deeper problem, we'll let you know before starting.
Ready for acleaner seal?
Send through a few details and we’ll get back to you with the next step.
Get a Free QuoteAlso consider: Shower Regrouting